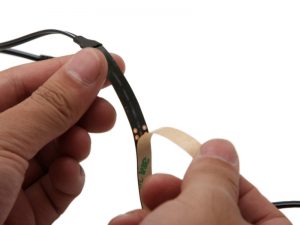
LED flex strips are extremely popular in home lighting applications. LED strip light applications continue to grow because of their ease of use. The low-profile design, flexibility, efficiency, and adhesive backing make them a no-brainer for many DIYers looking to put LEDs in their home. Like any other product, the whole is only as good as the parts. A common failure for these strips is that their adhesive backing fails on some surfaces or tends to give way over time. Luckily, here at LEDSupply we have taken feedback and found additional ways to mount these LED strips. Use some of these methods in installing LED strips to enjoy for years to come!
LED Strips that simply will not stick!
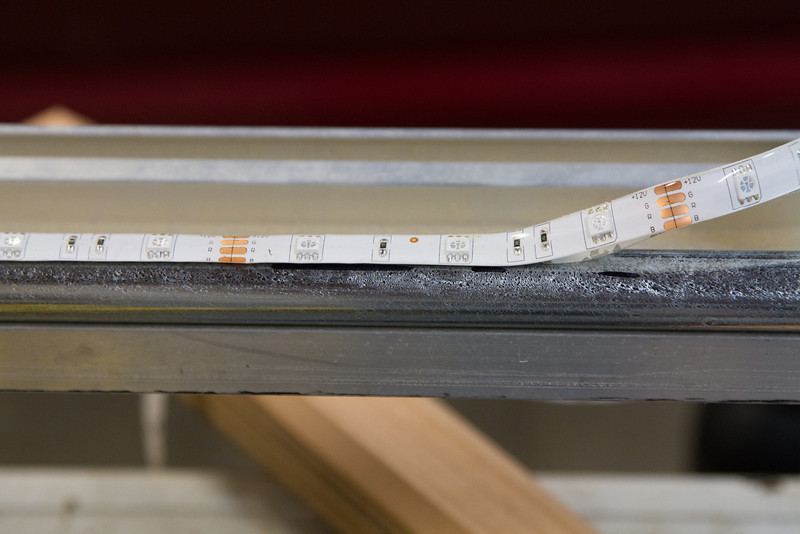
The self-adhesive on the back of the led strip lights typically needs a smooth surface in order to stick securely. Rough surfaces or too many grooves will limit the contact between the surface and the 3M tape backing. Less contact means less of a bond, leading to the flex strips falling or drooping in places.
The LED tape backing also does not bond well with certain finishes. If the surface has a glossy or oily surface, the strip likely will slide around too much or not stick at all. In these types of situations, it will be necessary to find other mounting options for the strip lights.
The environment around the strip also affects the peel-and-stick backing. Very hot climates will lead to failure in the adhesive material. It may be working at first, but after one extremely hot day, the tape will fail as the surface temperature rises. Humidity and moisture in the air also have a negative effect on the strips causing them to lose their bonding ability.
Mounting Methods for LED Flex Strips
LED strips falling down and losing their adhesive backing can be a real pain to deal with. Luckily there are a few alternative methods that can save a lot of time and headaches.
LED Strip Mounting Clips
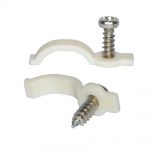
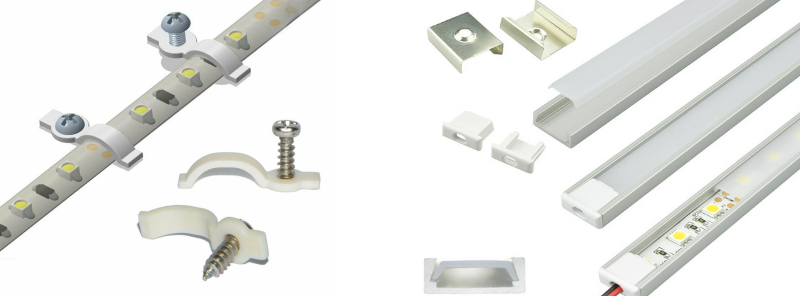
This is a simple, cheap solution for installing LED strips that does not rely on double-sided tape. These small clips use a one screw design to screw into surfaces and clip over the LED strip, holding it in place. These clips are just $1.99 for a pack of 15 which should be plenty of clips for a reel of flex strips (roughly 1 clip per foot).
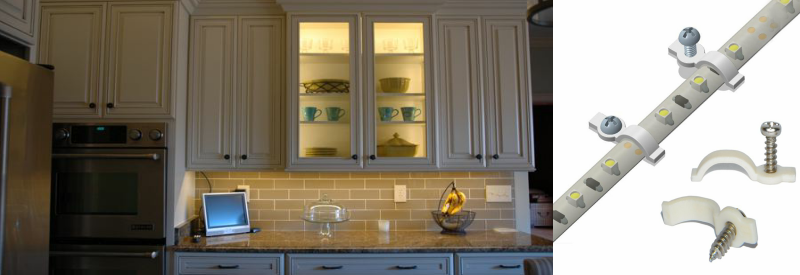
The brackets work great in applications where the lights are facing downward as in under cabinet lighting. This simple step of installing LED strip light fasteners will save from worrying about falling strips in the future.
LED Strip Mounting Channel
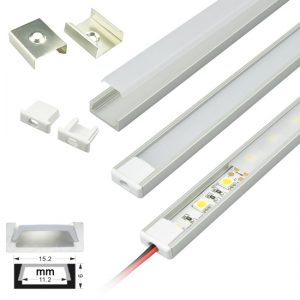
This aluminum channel is an affordable way to mount LED strip lights while giving them the best professional look. This track comes in .5 and full meter lengths that can house LED strips up to 10mm in diameter, like the Standard and High-Density Flex Strips. For a perfectly spotless strip light solution, pair our COB LED Strip lights with these diffusers. The track comes with a UV-protected cover that diffuses the light slightly and looks fantastic.
This method still relies on the adhesive backing as the strips adhere to the aluminum track. The aluminum and adhesive work very well together and form a great bond. There are then clips that hold the track in place that will mount to the desired surface.
This is highly recommended if the light is going to be seen directly by people. The track and UV-protected screen cover make the lights look like a professional fixture, no one would guess it is flex strips inside.
Extra Strong Double Sided Tape
This last method is for when mounting options are limited in the space or there is no way to screw into the surface where the LED strips need to go. LEDSupply carries a strong double-sided tape that is sold by the foot. This tape is rated for high temperatures and is much better than the adhesive used on the flex strips themselves. Use this tape to double the bond and ensure the LED strips stay where they are put.

